How to create an In-Page ad campaign?
What is In-Page?
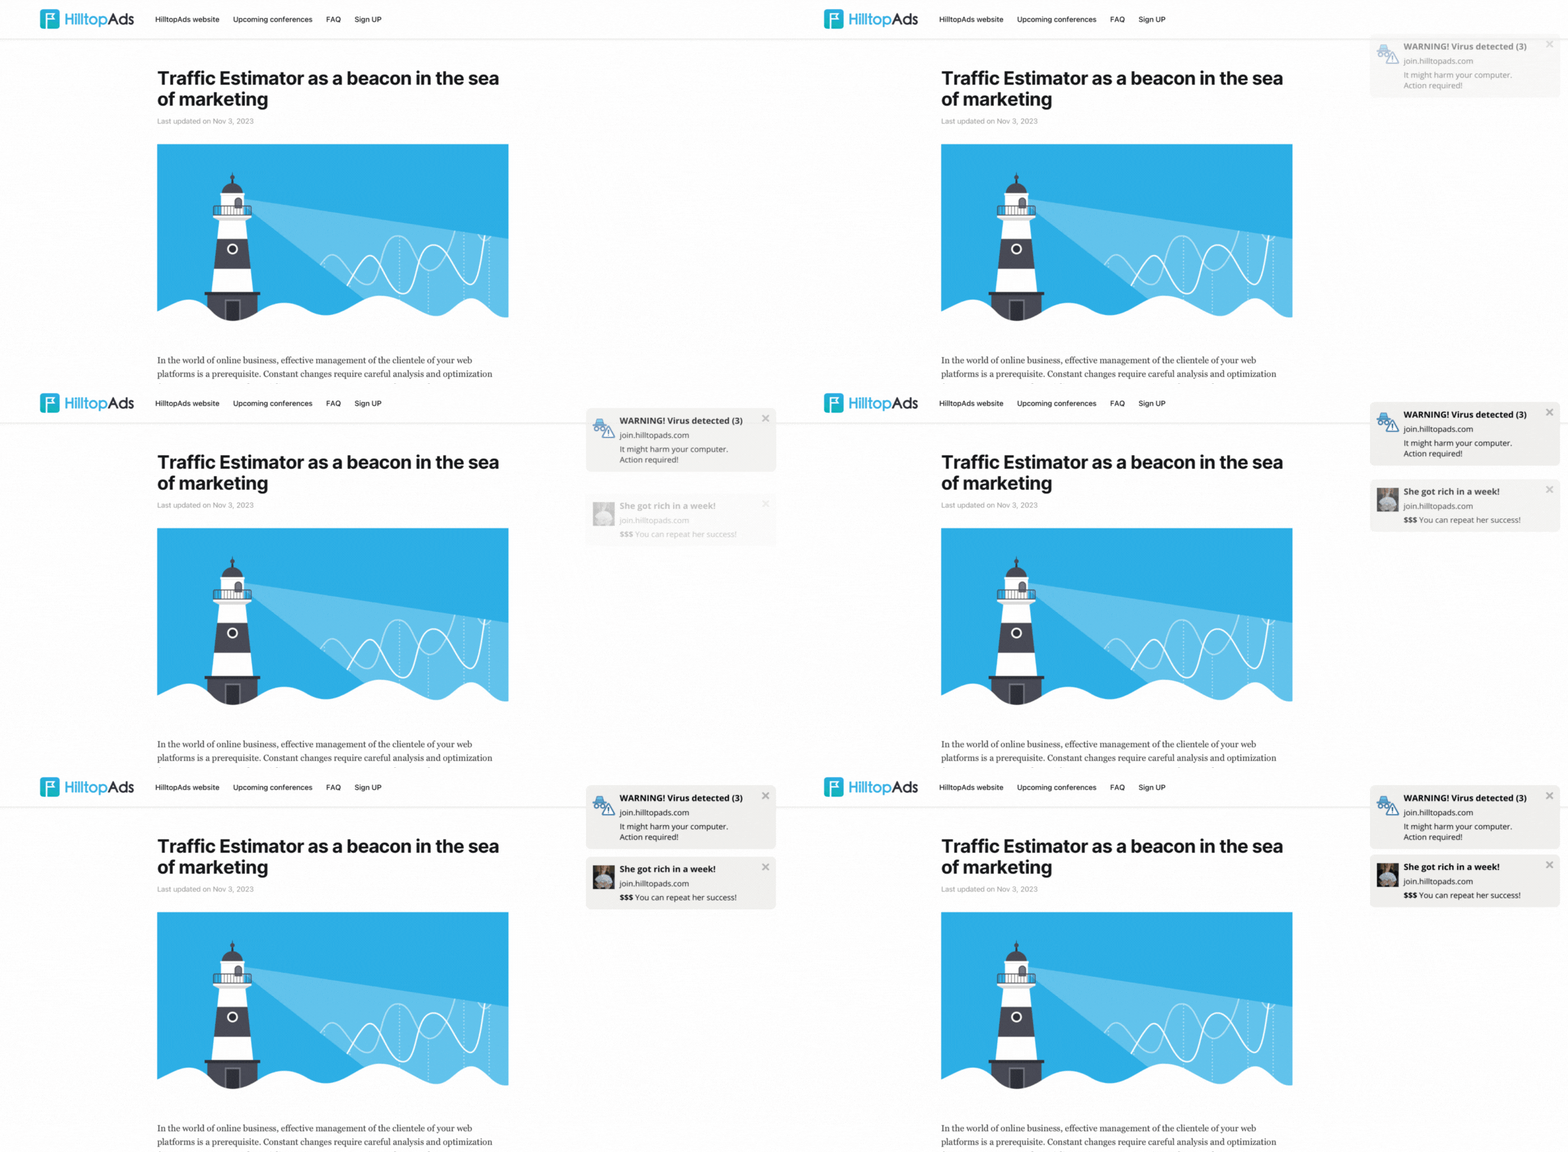
In-Page is an advertising format that looks like a push notification on the right side of your website when a user visits it. The main difference between push notifications and In-page is the display algorithms. Push notification strategy is based on specific triggers and your engagement with an app. In-page ads are shown whenever users visit a website. This ad format is CPM or CPC-based.
Similar to classic push ads, In-Page Push is a web adaption of a well-known ad format with no need to collect the database, it works on all browsers and platforms including iOS.

In-Page ads resemble small messages with an image. You are probably familiar with push notifications because we receive them on a daily basis - from an online store or the favorite game.
If you don't want to read the guide, watch our video guide on YouTube.
Which niches are best suited for In-page ads in 2024?
Here is a list of niches that well with In-Page push traffic:
- dating;
- mobile apps;
- pin-submit;
- e-commerce;
- streaming dates.
Based on our statistics, these niches are consistently successful, so by choosing them, you are guaranteed to never go wrong. Make sure to keep this list within easy reach.
Niches that are not relevant for In-page are the same as for a Popunder format: stores for children, fishing enthusiasts, products for specific professions (e.g., server setup services, car repairs), as well as unique product stores, travel agency websites, and hotel bookings. Wellness products also fall into this category.
Let's set up an in-page advertising campaign on the HilltopAds platform together!
How to start an In-Page advertising campaign in HilltopAds?
To create an In-page ad campaign, you have to register with HilltopAds as an advertiser. You can register using this link.
Next, to create an advertising campaign, you need to:
- Go to the Manage Campaign section;
- Click on the Add Campaign button;
If you are hesitant about starting your campaign immediately, please do not activate the Status tumbler.
3. Pick the In-page ad format (desktop or mobile);
4. Choose the Type of pricing - CPM or CPC;
5. The next step is related to the selection of Traffic channels;
If you run 18+ offers, at this point you need to pick a non-mainstream channel. If you run offers without age restrictions, you need to choose a mainstream one.
Besides, we recommend launching your first ad campaign to high and medium traffic activities so you could get as many conversions as possible.
6. Set up Targeting settings;
The settings here depend on the product type, pre-landing page and other details.
7. Set up Campaign filters and enable proxy traffic for our company;
We don't recommend applying it because for Proxy traffic you are entitled to set up other targeting settings like language. If you would like to run ads to Proxy users, please create a new ad campaign.
8. Set up an Automatic Optimization tool Campaign Limits and Schedule.
9. Go to the Creative uploads. Upload an image, then type in your Title, Body and paste a required link to your landing page;
10. Last step is about selecting the CPM or CPC rates;
Great! Save your campaign.
Usually, ad campaigns are approved within 1 business hour. If you create an ad campaign on the weekend, moderation might take more time.
Technical recommendations
- Image size 192x192 px.
- File formats: jpg, png, gif.
- The maximum title size is 30 characters.
- The maximum description size is 120 characters.
Important: before you get your first impressions, you need to top up your balance. You can find more detailed information in the guide below.


